How to Resize an Image Without Losing Quality
Resize an image without losing quality: shrink from the original, enlarge with care, sharpen gently and save in the right format. Free, on your device.
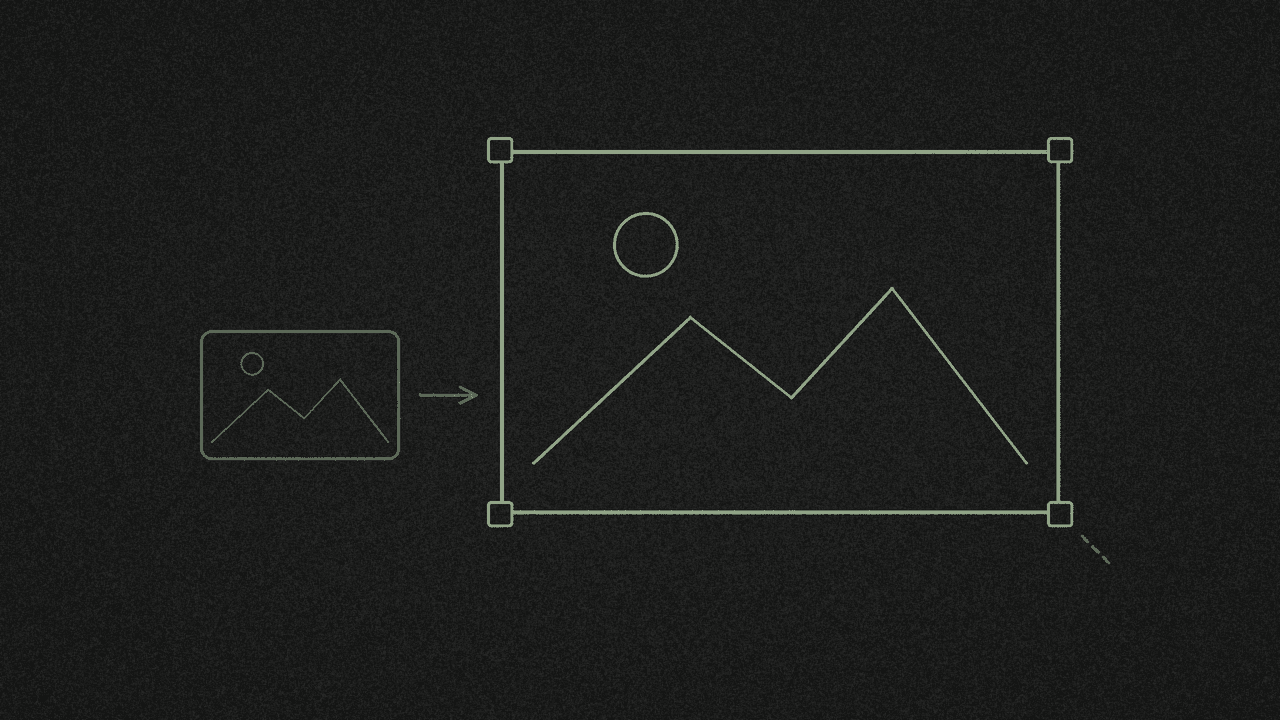
Resizing an image means changing how many pixels it has. Going smaller is usually safe. Going bigger is where quality slips, and the format you save in can cost you more.
Here's how to keep the damage close to zero.
1. Know which way you're going
Smaller: the software throws away pixels you don't need. Done once from a good original, it usually looks fine.
Bigger: the software has to invent pixels between the ones you have. Cambridge in Colour's guide to interpolation puts it plainly: "interpolation can never add detail to your image which is not already present". Enlarging spreads the pixels you have, so edges soften.
The same guide notes that "an image will always lose some quality each time interpolation is performed". So resize once, from the original, to the size you need.
2. Start from the biggest original you have
Don't resize a copy that's already been shrunk, or a JPG that's been saved again and again. Make a copy and keep the original untouched, so you can always go back to it.
3. Set the new size in pixels
Open your picture in the free image editor and choose Image > Image size...
- Type a new Width or Height in px. With Keep proportions ticked, which it is by default, the other number follows.
- There's no percent field. To halve an image, type half the number. The dialog shows the current size to work from.
- There's no DPI or print size setting, so work in pixels.
- The largest side allowed is 8192 px. A bigger image is scaled down when you open it, and the editor tells you.
If you're used to Photoshop, this is its Image Size dialog with Resample on. Photoshop lets you pick a resampling method. shinmuscat doesn't offer a choice: it uses your browser's high-quality smoothing, and it shrinks in steps rather than in one jump.
Want more space around the picture rather than a bigger picture? Use Image > Canvas size... instead. It adds or trims space around the edges, with an Anchor grid to choose where the picture sits, and it doesn't stretch any pixels. The new area is transparent unless you tick Fill new area with background color.
Cropping to a shape is a separate job. The Crop tool's Aspect menu has Free, 1:1, 4:3, 16:9 and Original.
4. Scaling a layer in a design? Make it a smart object first
If you're resizing one layer inside a bigger design, choose Layer > Smart Objects > Convert to Smart Object first. A smart object redraws from its stored original, so you can scale it down and back up without losing detail.
This works for layers you scale with Free Transform. Image size on a flat photo still resamples the pixels, and a smart object can't grow past the detail in its own original.
5. Enlarged it? Sharpen gently
Enlarging softens edges, and a little sharpening can bring back some crispness:
- Filter > Unsharp Mask... gives you Amount, Radius and Threshold.
- Filter > Sharpen... has a single Amount.
Sharpening can't add real detail, and too much leaves bright halos along edges. Check it at full size and stop as soon as it looks right.
For a bigger jump, Image > Upscale (AI)... runs on your device and opens the result as a new image. The model draws in plausible detail, but it's a guess rather than the original detail, so check faces and text closely.
6. Save in a format that keeps the quality
- PNG for screenshots, logos and graphics. It's lossless, so the W3C PNG specification says it can reconstruct "the original data exactly, bit-for-bit". There's no quality setting.
- JPG for photos. It's lossy and has no transparency. In File > Export as JPG..., the Quality slider runs from 10 to 100% and starts at 90%. Transparent areas become white.
- WebP for photos on the web. It can be lossy or lossless and keeps transparency. Google says lossy WebP files are "25-34% smaller than comparable JPEG images at equivalent SSIM quality index". It has the same Quality slider as JPG.
Each time you edit a JPG and save it again, it's compressed again and can lose a little more. The US Office of Research Integrity advises saving to JPEG "as the final step". Keep your original, and save as JPG last.
Smaller dimensions usually mean a smaller file too.
Where your image goes
Your files never leave your device. The editor loads some code from jsDelivr, the font picker loads Google Fonts, and if you use an AI tool, your browser downloads its model from Hugging Face. The page also loads Google Analytics. None of these sends anything from your image.
Next step
Open your original in the free image editor, choose Image > Image size... and type the size you need. It's free, with no signup.
Resize your own image
Open a picture in the free image editor and set its width and height in pixels. It runs on your device, so nothing is uploaded.