Make a Poster With Grok Imagine, Then Change Its Text in a Free Layered Editor
Make a poster with Grok Imagine, then change its baked-in date: Remove Object, retype it as live text and export for Instagram or A4. Real prompt inside.
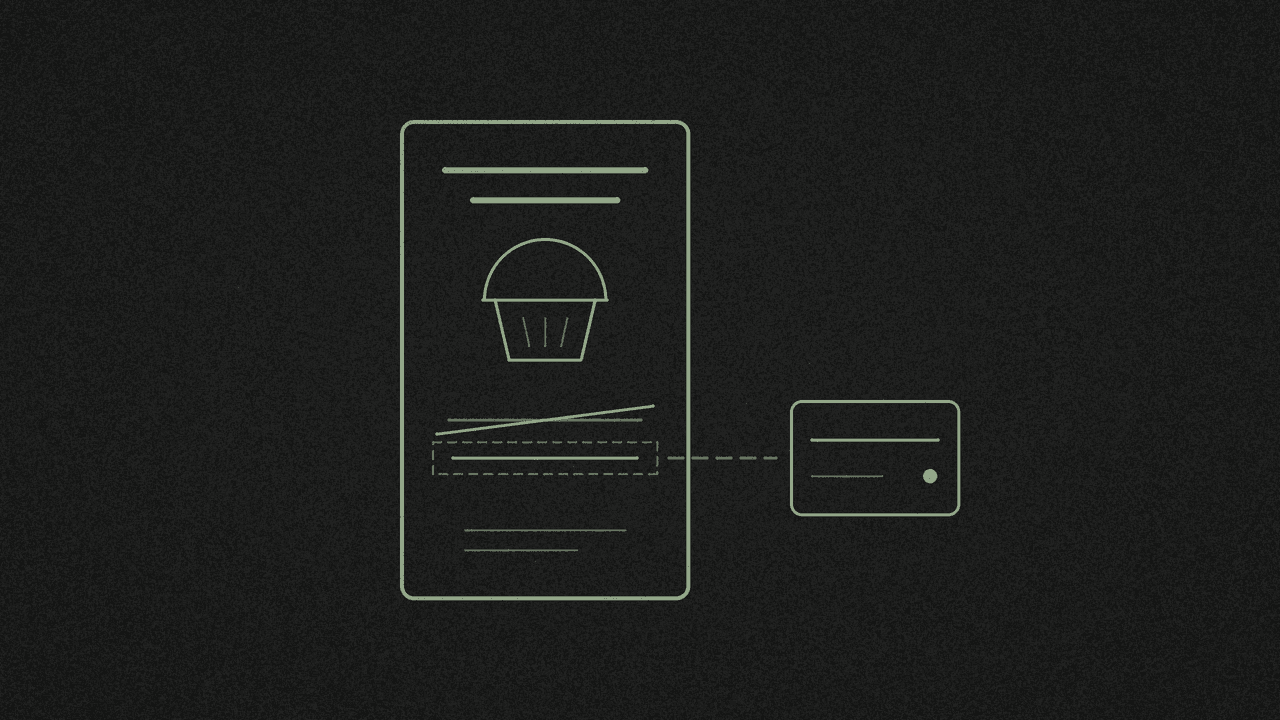
Grok Imagine spelt every word on our poster right. Then the bake sale moved to Sunday. The date is part of the picture, so you can't click it and type. You have to remove the old line and set new type on top, and the image editor does both in your browser.
We ran the whole thing on 15 November. Grok Imagine, through Grok Bot, made the poster. Then we swapped the date in the image editor and exported it for Instagram and for print. What we found:
- Grok got the text right. Both our runs, a bake sale poster and a busier repair cafe poster with a five-item list, came out with every word spelt correctly. Two runs is a small sample, so check yours. The job left was changing a detail.
- Remove Object runs on your device. Its first run downloads a 27 MB AI model to your browser, and the result lands on its own layer called "Removed".
- A loose selection smudges what's next to it. Our box clipped the two hearts beside the date, and both came out smudged.
- Centred text sits on your click. With centre alignment, the spot you click becomes the middle of the line.
- Instagram 3:4 needs no crop. Grok gave us 864 x 1152, which is 3:4. Resized to 1080 x 1440, it fits Instagram's tallest shape. For 4:5 (1080 x 1350) you lose 72 px off the top and bottom.
- A4 needs padding, and there's no DPI field. A4 is a different shape from 3:4, so 2480 x 3508 gets blank bands, and it's a 2.87x stretch of the original.
- The exports drop the AI label. Grok's file carried Content Credentials naming Grok Imagine. Our exports had none.
What you need
- A way to run Grok Imagine. We used the image generation built into Grok Bot.
- A computer with a browser for the image editor. There's no signup, ads or watermark.
- The new wording you want on the poster.
We tried ChatGPT first, logged out. It replied "Image creation is only available when you're logged in."
Step 1: Make the poster with Grok Imagine
We set the ratio to 3:4 and used this prompt:
Create a portrait A4 poster for a community bake sale. Big headline text at the top: "WEEKEND BAKE SALE". Below it: "Saturday 22 November, 10am to 2pm". At the bottom: "Free entry, all proceeds to the library". Warm pastel colours, illustrated cupcakes and bread.
Grok returned an 864 x 1152 JPEG. The headline, the date line and the footer were all spelt right. The prompt says A4, but the file came out in the 3:4 ratio we picked, and that matters when you print (step 7).
Save the file to your computer. shinmuscat doesn't connect to Grok, so you move the file across yourself.
Step 2: Open it in the image editor
Open the image editor and choose File > Open.... You can also drag the file in or paste it.
Step 3: Remove the old date with Remove Object
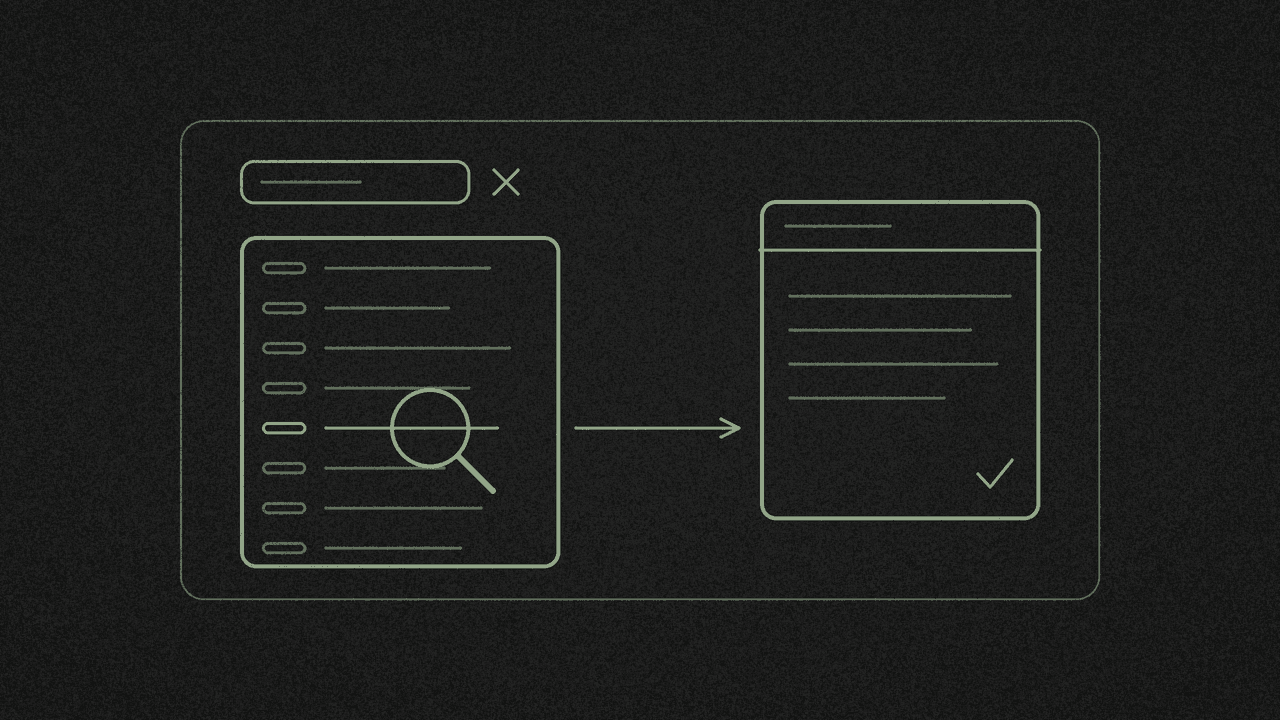
- Pick the Rectangular Marquee (M) and drag a box round the line you want gone. Remove Object stays disabled until you've made a selection.
- Choose Edit > Remove Object.
- The first time, the editor shows "Downloading the AI model: 27 of 27 MB" and says "The first run downloads an AI model to your browser. It is cached afterward. Your image stays on your device." Ours took about 20 seconds.
The result goes on a new layer called Removed. The old date was gone, but our box was too loose. It clipped the heart on each side of the line, and both hearts came out smudged. Keep the box tight to the text.
The editor also has Clone Stamp (S), Healing Brush, Spot Healing Brush and Patch (J) for touching up. We didn't test them, so we can't tell you how well they fix a smudge.
Step 4: Type the new date as live text
- Press T for the Text tool and click where the middle of the line should go.
- Type your text. Ours was "Sunday 23 November, 10am to 2pm" in Libre Baskerville Bold, 29 px, centred, colour #5a3220.
The words sit on their own type layer in the Layers panel, so you can change them again later. Ours stayed editable through every resize below.
Two things to watch:
- Where you click. With centre alignment, your click point becomes the centre of the text. Click near the edge of the poster and part of the line ends up off the canvas.
- The font. Libre Baskerville was close to Grok's lettering, but it wasn't the same. You get 48 Google Fonts plus "Show my fonts", and you can't upload a font file. Pick the nearest one and expect a sharp-eyed reader to spot it.
Step 5: Export a copy
- File > Export as PNG (Ctrl+S) downloads straight away, with no dialog.
- File > Export as JPG... opens a dialog with Quality set to 90. It warns "Transparent areas become white."
- The editor also has Export as WebP..., Export as PSD and Copy image to clipboard.
Step 6: Size it for Instagram
Meta's help page for Instagram says posts are 1080 pixels wide, up to a 3:4 ratio.
For 3:4, choose Image > Image size.... Keep proportions is on by default. Set Width to 1080 and you get 1080 x 1440 with nothing cut off.
For 4:5:
- Open Canvas size..., set 864 x 1080 and pick the centre anchor. That cuts 72 px off the top and bottom. On our poster it trimmed the edge of the footer strip.
- Open Image > Image size... and set Width to 1080. You get 1080 x 1350.
Step 7: Size it for A4 print
A4 at 300 dpi is 2480 x 3508 pixels. The editor works in pixels only. There's no DPI field, and the exports don't write a DPI value.
- In Image > Image size..., set Width to 2480. That gives 2480 x 3307.
- In Canvas size..., set Height to 3508. You get 2480 x 3508 with blank bands to fill the extra height. They're transparent in a PNG and white in a JPG.
That's our 864 px poster stretched 2.87 times, and we didn't judge how sharp it prints. Image > Upscale (AI)... offers 2x, 4x Photo and 4x JPEG cleanup and opens the result as a new image. We didn't run it, so we can't say whether it helps a print.
Step 8: Keep a layered copy
File > Export as PSD keeps your layers. Ours saved at the 1080 x 1350 size. Keep that file, and next time the date moves you only retype one line.
Label it yourself
Grok's file had Content Credentials naming Grok Imagine as the software and marking the image as AI-made. The editor writes no metadata when it exports, so our copies came out without them. Say the poster is AI-made in your caption, or use the platform's AI label.
Next step
Make your poster with Grok Imagine, save it, and swap the old line in the image editor with Remove Object and the Text tool. Want more on type that stays editable? Read how to add text to an image and keep it editable. Need other sizes? See how to resize an image without losing quality. Making video with Grok Imagine too? Stitch AI-generated clips into one short.
Add text you can still edit
Press T, click your image and type. Save with Export as PSD to keep the text live. Your image isn't uploaded.