Stitch AI-Generated Clips Into One Short in a Free Browser Editor
Make three short clips with an AI video generator, ask a chat AI for a shot order, then cut them into one 9:16 short in a browser editor. Prompts inside.
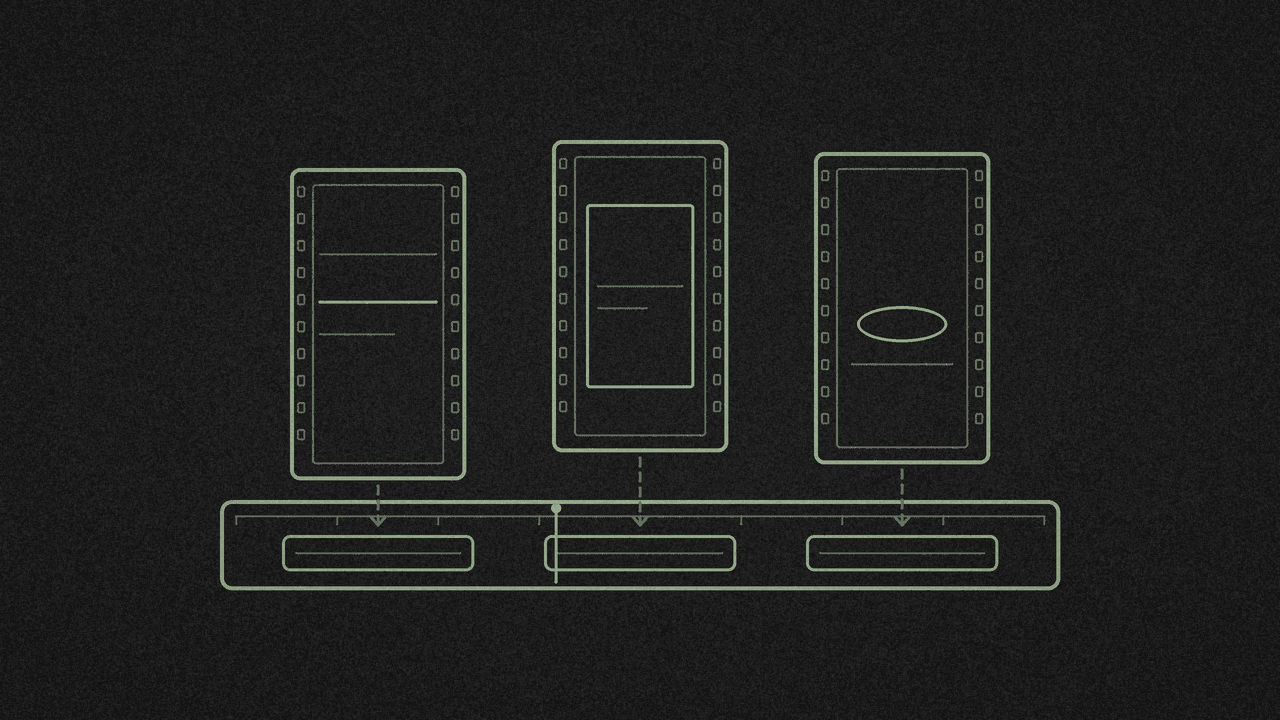
AI video generators give you short, separate clips. Ours were 6 seconds each. To get one short you can post, you still have to cut them together, and the video editor does that part. It doesn't make video. It assembles clips you already have, on your device.
We did the whole run on 13 November. Grok Imagine, through Grok Bot, made three clips. A fresh Grok Bot chat wrote the shot order. Then we cut it in the editor and exported twice. Five things we measured:
- Set the export to 24 fps. Our AI clips came out at 24 fps, and the editor exports at 30 fps by default. At 30 fps, 85 of 439 frames (19%) were near-copies of the frame before. At 24 fps there were none, and the file was 18% smaller.
- A dissolve doesn't make the video shorter. The timeline read 00:14.18 before and after we added one. The AI's shot plan took half a second off for it, and that was wrong.
- The sound still cuts hard under a dissolve. The editor says so itself: "The sound still cuts at the edit."
- The export drops the AI label. Our clips carried a cover image and Content Credentials naming Grok Imagine. The exported MP4 had neither. Label AI content yourself when you post.
- Grab trim handles near the top. Once a transition is on a cut, it takes over drags on the middle of the handles next to it.
What you need
- Three or so short clips from an AI video generator. Ours were 6 seconds, 720 x 1280 (vertical 9:16) and 24 fps.
- A chat AI to plan the order. We used Grok Bot.
- A computer with a browser, for the video editor.
Step 1: Make the clips with one prompt set
Write one style line and add it to every clip, so the three shots look like the same scene. Ours:
Vertical 9:16, cinematic handheld feel, warm tungsten light against cool blue rain, shallow depth of field, no text, no logos.
Then write one prompt per shot. We set each to 6 seconds, 9:16, 720p, text-to-video:
- Clip A (establishing): "A small street noodle stall on a rainy night, steam rising from a big pot under a striped awning, light rain falling past a hanging bulb, slow push-in from across the wet street."
- Clip B (detail): "Close-up of hands lifting fresh noodles out of boiling water with a wire strainer, steam billowing, droplets catching the warm bulb light, slow motion."
- Clip C (payoff): "A steaming bowl of noodle soup set down on a wooden counter, rain blurred in the background, camera slowly tilts down to the bowl as steam curls upward."
Download all three.
Step 2: Ask a chat AI for the shot order
Paste this into a chat AI, with your own clip descriptions:
I have three AI-generated video clips, each 6 seconds long and vertical 9:16. I want to edit them into one short of about 12 to 15 seconds for TikTok or Reels.

Clip A: a small street noodle stall on a rainy night, steam rising under a striped awning, slow push-in from across the wet street.
Clip B: close-up of hands lifting noodles out of boiling water with a wire strainer, steam and droplets, slow motion.
Clip C: a steaming bowl of noodle soup set down on a wooden counter, rain blurred behind, camera tilts down to the bowl.

Write a shot order as a numbered list. For each shot give: the clip letter, the in and out points in seconds within that clip, the cut type into the next shot (hard cut or one short dissolve, and use only one dissolve in total), and one sentence on why. You may split a clip and use it twice. Finish with the total running time. Keep it under 150 words.
Grok Bot's plan, in short:
- Clip A, 0.0 to 4.0 s, hard cut. Sets the rainy night and the place.
- Clip B, 1.0 to 4.0 s, hard cut. A strong close-up early "helps stop the scroll".
- Clip A, 4.0 to 6.0 s, one 0.5 s dissolve. Back to the stall for a breather.
- Clip C, 0.5 to 6.0 s, end. The bowl lands, and it can loop to the start.
It finished with "4.0 + 3.0 + 2.0 + 5.5 = 14.5 s, minus the 0.5 s dissolve overlap, comes to about 14 seconds." The order was good. The sum was wrong for this editor, as step 5 shows. Use the plan for the order and check every time on the timeline.
Step 3: Import the clips and set 9:16
- Open the video editor and start a blank project.
- Go to Media, press Import and pick your clips. They land in the bin. Ours read "720x1280 - 24 fps".
- Click a clip to add it to the timeline at the playhead. Add them in the order you'll need.
- In the top bar, set Aspect ratio to 9:16. The canvas becomes 1080 x 1920. Our 9:16 clips filled it with no black bars.
Step 4: Split, trim and reorder
- Split: move the playhead and press Split at playhead (S), or just press S. We split clip A at 00:04.01 to use it twice.
- Trim: drag a clip's edge handles in or out.
- Reorder: drag clips along the main track. The gaps close up on their own.
Our timeline went from 00:18.03 with all three clips, to 00:15.03 after trimming B, to 00:14.18 after trimming C and moving the second half of A into place.
Step 5: Add one dissolve
- Click the cut marker between two clips and choose Add a transition.
- Pick Dissolve and set it to 0.5 s. There's also Fade to black, Fade to white, Slide, Wipe and Zoom, plus Apply to all cuts.
The timeline still read 00:14.18 afterwards. The editor centres the dissolve on the cut and uses footage from beyond each clip's trim points, which is why the length stays put. Our export came out at 14.6 seconds, against the AI's "about 14".
Two things to watch:
- Sound. The editor's help text says "The sound still cuts at the edit." The picture blends; the audio jumps. If the jump bothers you, trim to a quieter moment.
- Trimming after a transition. The transition takes over drags on the middle of the edge handles next to it. Grab the handle near the top instead.
Step 6: Export at 24 fps
- Press Export. It starts on 1080p, 30 fps, MP4 (H.264 + AAC), 1080 x 1920.
- If your AI clips are 24 fps, change Frame rate to 24.
- Press Export video, wait for Export complete, then press Download.
We exported both ways. At 30 fps the editor stretches 4 source frames into 5 by holding one, so 19% of frames were near-copies. At 24 fps there were none. The file dropped from 10.9 MB to 8.9 MB, and it took 13 seconds to export instead of 16 on our laptop.
1080p here means 1080 x 1920, while our clips were 720 x 1280. That's 1.5 times larger, made by scaling up, so it adds no detail the clips didn't have. YouTube takes Shorts up to 1080p.
Label it yourself
Each Grok Imagine clip had Content Credentials inside it, naming Grok Imagine and marking it as AI-made. They were self-signed, and our reader flagged the signer as untrusted, so they were a weak label to begin with. Still, both exports came out with no credentials and no cover image. Nothing in the file says it's AI any more, so say so in your caption or with the platform's AI label.
The editor is free, with no sign-in or watermark, and your clips stay on your device.
Next step
Make three 6-second clips from one style line, ask a chat AI for the order, and cut them in the video editor at 24 fps. Want captions on top? Here's how to turn an AI-written script into a captioned video. Making clips from screen footage instead? See make cool videos with Claude Code. Making a still poster with Grok Imagine? Change its text in the image editor.
Stitch your AI clips into one short
Import your clips, then trim, split, reorder and add a dissolve. Export a 9:16 MP4, free and on your device.