How to Make Cool Videos With Claude Code, Then Record Yourself for Free
Make cool videos with Claude Code: a title intro, cut pauses, a corner camera, burned-in captions and a 9:16 copy. Eight ready-to-copy prompts inside.
Claude Code writes and runs code on your computer, and that code makes the video: Remotion turns a few lines of React into an animated MP4, and ffmpeg cuts, crops and captions footage you already have. The footage can be you. Record your screen, your face or both in the free shinmuscat screen recorder, download the file, and give it to Claude Code with one of the eight prompts below.
What you need
- Claude Code. It needs a paid Claude subscription or an Anthropic Console account. Install it with
curl -fsSL https://claude.ai/install.sh | bashon Mac or Linux, orirm https://claude.ai/install.ps1 | iexin Windows PowerShell. Check it withclaude --version. The Claude Code quickstart has the rest. - ffmpeg for editing footage, and Node.js for Remotion.
- The Remotion plugin, if you want animated titles. Remotion publishes an official Claude Code plugin: run
claude plugin marketplace add remotion-dev/claude-code-plugin, thenclaude plugin install remotion@remotion, then restart Claude Code. - A computer. Screen recording needs a desktop browser (Chrome, Edge, Firefox or Safari). Camera-only recording works on most phone browsers.
Anthropic released Claude Opus 5.5 on 22 September 2026. Anthropic says it costs 40% less to run than Opus 5, and that when one tester had several Claude models build a game from a single prompt, "Opus 5.5 scored higher than any other model on the strength of its graphics and polish." Those are Anthropic's own claims, and we haven't tested them.
Step 1: Record your footage
- Open the screen recorder on a computer.
- Pick Screen, Screen + camera or Camera. Set the Microphone and Tab/system audio switches.
- Press Start recording. After the 3-2-1 countdown, use Pause and Stop as you need them.
- Press Download.
- Want captions later? Press Transcribe, then download SubRip subtitles (.srt). It runs on your device.
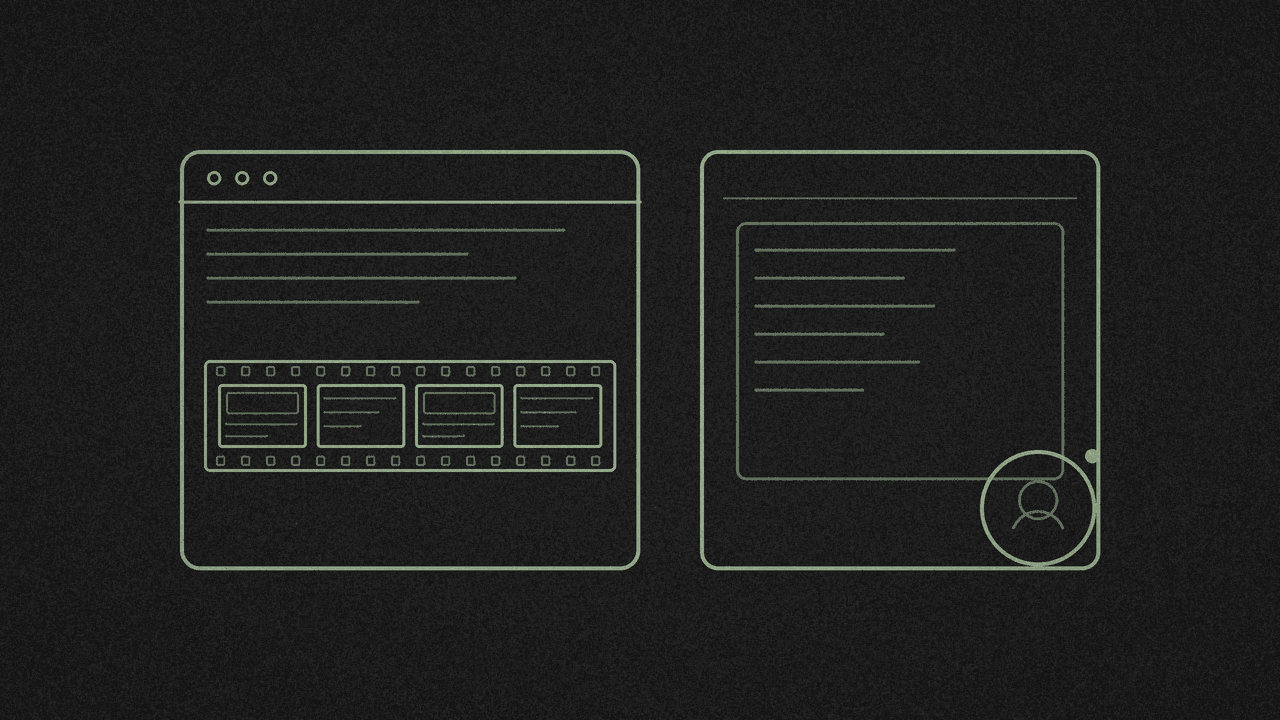
Pick your mode with the edit in mind. Screen + camera saves one video with your camera bubble already burned into the picture, so Claude Code can't move or resize your face afterwards. If you want Claude Code to place your camera in a corner, record two takes: one in Screen, then one in Camera. You'll line the two up yourself.
Step 2: Hand the file to Claude Code
shinmuscat doesn't connect to Claude Code. Nothing is uploaded, and the file stays on your computer.
- Move your recording (and the .srt, if you made one) from Downloads into one folder, such as
my-video. - Open a terminal in that folder and run
claude. It asks you to sign in the first time. - Paste a prompt from below, with your real file names in it.
- Watch the result before you post it.
Step 3: Clean up the browser file first
The name says .mp4, but what's inside may not be what an editor expects. We downloaded a 10.6-second take from Chrome and checked it. Inside was VP9 video and Opus audio, 1920×1200 (the shape of that monitor, not 16:9), at about 29.7 frames a second on average instead of a steady rate. So run prompt 1 before anything else.
The prompts
We tested the ffmpeg and Remotion commands behind these prompts on our own files, including a real shinmuscat recording. We didn't run the prompts inside Claude Code itself, so Claude Code may take a different route to the same result. Swap in your own file names.
1. Clean up the recording
Check recording.mp4 with ffprobe and tell me the codec, size and frame rate. Convert it to constant 30fps H.264 1920x1080 so it edits cleanly.
Needs ffmpeg. You get a standard H.264 MP4 that most editors open.
2. Animated title intro
Make a 3-second 1920x1080 30fps Remotion video called Intro. Dark background, the title "My first build" fades in and slides up over the first second. Render it to out/intro.mp4.
Needs Node.js and the Remotion plugin. You get a 3-second H.264 MP4. Our render of this title took 7.2 seconds.
3. Promo video from a script
Here's my script in script.txt. Make a 20-second 1080x1920 Remotion video with one scene per line, white text on a dark background, one accent colour, and render out/promo.mp4.
Needs Node.js and the Remotion plugin. You get a vertical MP4 with one scene per line of your script. We haven't run this one: it follows the pattern in Remotion's docs.
4. Put the intro on the front of your recording
Join out/intro.mp4 and recording.mp4 into one 1920x1080 30fps MP4. Scale and pad the recording to fit without stretching.
Needs ffmpeg. You get one MP4. Ours was the 3-second intro plus a 10.6-second recording, 13.6 seconds in all. Padding stops a 16:10 screen from getting squashed.
5. Cut the pauses
Find every pause longer than 1 second in recording.mp4 using ffmpeg silencedetect at -30dB, show me the list, then cut them out and save recording-tight.mp4.
Needs ffmpeg. You get a shorter file. Our 10-second test clip came out at 7 seconds with sound and picture still in sync. Ask for the list first, because background noise changes what counts as quiet.
6. Your camera in the corner
Put camera.mp4 in the bottom-right corner of screen.mp4 at 480px wide with a 40px margin, keep the screen audio, save pip.mp4.
Needs ffmpeg and your two separate takes from step 1. You get one video with your face in the corner. We haven't tested lining up two takes in time.
7. Burn in captions from the recorder's SRT
Burn the captions from recording.srt into recording.mp4 at the bottom, white text with a dark outline. Also make a copy with the captions as a switchable track instead.
Needs ffmpeg and the .srt from Transcribe. You get one video with captions in the picture and one where viewers can switch them on and off. We tested this with a hand-made SRT. We haven't yet run Transcribe on real speech, so check the captions before you burn them in.
8. A vertical 9:16 copy
Make a 1080x1920 version of recording.mp4, cropping the centre. Tell me what gets cut off before you do it.
Needs ffmpeg. You get a 1080×1920 MP4 for TikTok, Reels or Shorts. A centre crop of a wide screen cuts off most of the sides, so keep the important part near the middle of the screen when you record.
Next step
Open the screen recorder, record a 10-second test of your screen, download it, and run prompt 1 on it in Claude Code. Not sure which mode to use? See Screen vs Screen + camera vs Camera. Recording in Chrome? Here's how to record your screen in Chrome without installing anything. Got clips from an AI video generator instead? Stitch them into one short in the video editor.
Record in your browser
Screen, camera, or both. Download locally. No signup, no upload, no watermark.