How to Record Your Screen in Chrome Without Installing Anything
Record your screen in Chrome with no extension or app: pick a tab, window or entire screen in Chrome's share prompt, switch on audio, then download.
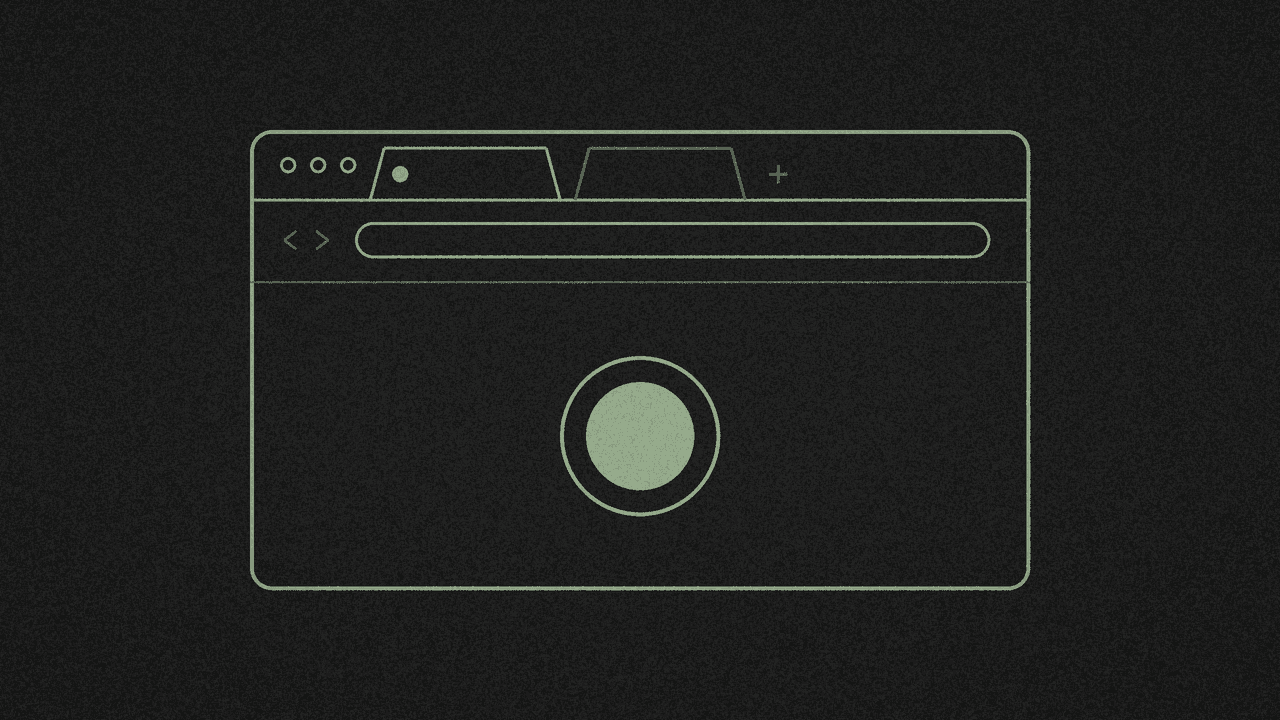
You want a screen recording from Chrome, and you don't want to install an extension or an app for it. You don't have to. Chrome can share a tab, a window or your whole screen with a website through its own share prompt, and shinmuscat's screen recorder saves that share as a video on your device.
This post is the Chrome side of it: which option to pick in Chrome's prompt, which audio switch goes with it, and the permissions that trip people up. For the free, no-signup, no-watermark promise, see free browser screen recorder with no watermark.
Before you start on a Mac
macOS has to let Chrome record your screen. Open Apple menu > System Settings > Privacy & Security > Screen & System Audio Recording, and turn Chrome on. Chrome then asks you to restart it, so sort this out before you set up your take.
1. Open the recorder and pick a mode
Open the screen recorder in Chrome and pick Screen, Screen + camera or Camera. Not sure which? See which mode to pick.
Then set the Microphone and Tab/system audio switches. Your microphone is on by default.
2. Allow your camera and microphone
If your mode uses the camera, or you left the microphone on, Chrome asks for permission. Its choices are Allow while visiting the site, Allow this time and Never allow.
Blocked it by mistake? Select View site information to the left of the web address, open Site settings, and set Camera and Microphone to Allow. On a work or school computer, your administrator may control these settings.
3. Choose what to share in Chrome's prompt
Press Start recording. Chrome opens its "Choose what to share" prompt with three options:
- Chrome Tab records one tab. Chrome usually leaves the tab you're on off the list, so open the page you want to record in another tab first.
- Window records one app window.
- Entire Screen records everything on that display.
Chrome asks every time. A site can't save that permission, so expect the prompt on every take. The exact labels can differ slightly between Chrome versions.
4. Switch on the right audio
Your microphone records your voice. Computer sound is separate, and it only comes through if you switch it on in Chrome's prompt:
- Sharing a tab: turn on "Also share tab audio".
- Sharing your entire screen: turn on "Share with system audio".
Chrome's wording can vary by version, and some versions say "Also share system audio" instead. For reliable sound, share a tab or your entire screen. If you start without computer audio, the recorder warns you so you can pick again.
5. Record, stop, download
Confirm your choice in Chrome's prompt. A 3-2-1 countdown runs, then recording starts. Pause, resume or stop whenever you're done, then save the video to your device as MP4 or WebM. Nothing is uploaded.
Want the words too? You can turn the take into a text transcript on your device after you stop. That part is optional.
Limits worth knowing
How long a take can run depends on your browser and device, not a shinmuscat meter. Screen recording needs a desktop browser, because phones do not expose a screen-capture API to websites. Camera-only recording works on most phone browsers.
Next step
Open the screen recorder in Chrome, pick a mode, choose a tab or your entire screen in the prompt, and download your first take.
Record in your browser
Screen, camera, or both. Download locally. No signup, no upload, no watermark.